Etched and cured
Fiber laser engraving
Fiber laser engraving marks stainless steel and other metals permanently, cutting your design into the surface of pendants, charms, tags, bracelets and bangles. It is a strictly on-or-off process — every part of the design is either engraved or left untouched, with no shading in between — so artwork should be solid black on a transparent background and nothing else. The pieces are small, which makes the minimum line and text sizes the constraint that decides whether a design works: 2 px strokes and 18 px text are the floor.
- Colour
- NoneA single tone cut into the metal
- Minimum line thickness
- 2 px (0.2 mm)
- Minimum text height
- 18 px (1.5 mm)
- Artwork
- Solid black on transparent
- File formats
- PNG, SVG
- Materials
- Stainless steel and metal jewellery
Every pixel is on or off
The laser either marks a point on the metal or it does not. There is no intensity ramp, no shading, no halftone — which makes this the most predictable decoration method we offer, provided you build the file the way the process reads it.
The rule that follows is worth committing to memory: assume every non-transparent pixel will be engraved, whatever its colour. A pale grey, a white highlight and a soft glow all engrave exactly as solidly as pure black. Only genuine transparency is skipped.
So build the design as solid black on a transparent background. Anything you do not want marked must be transparent, not white and not light.
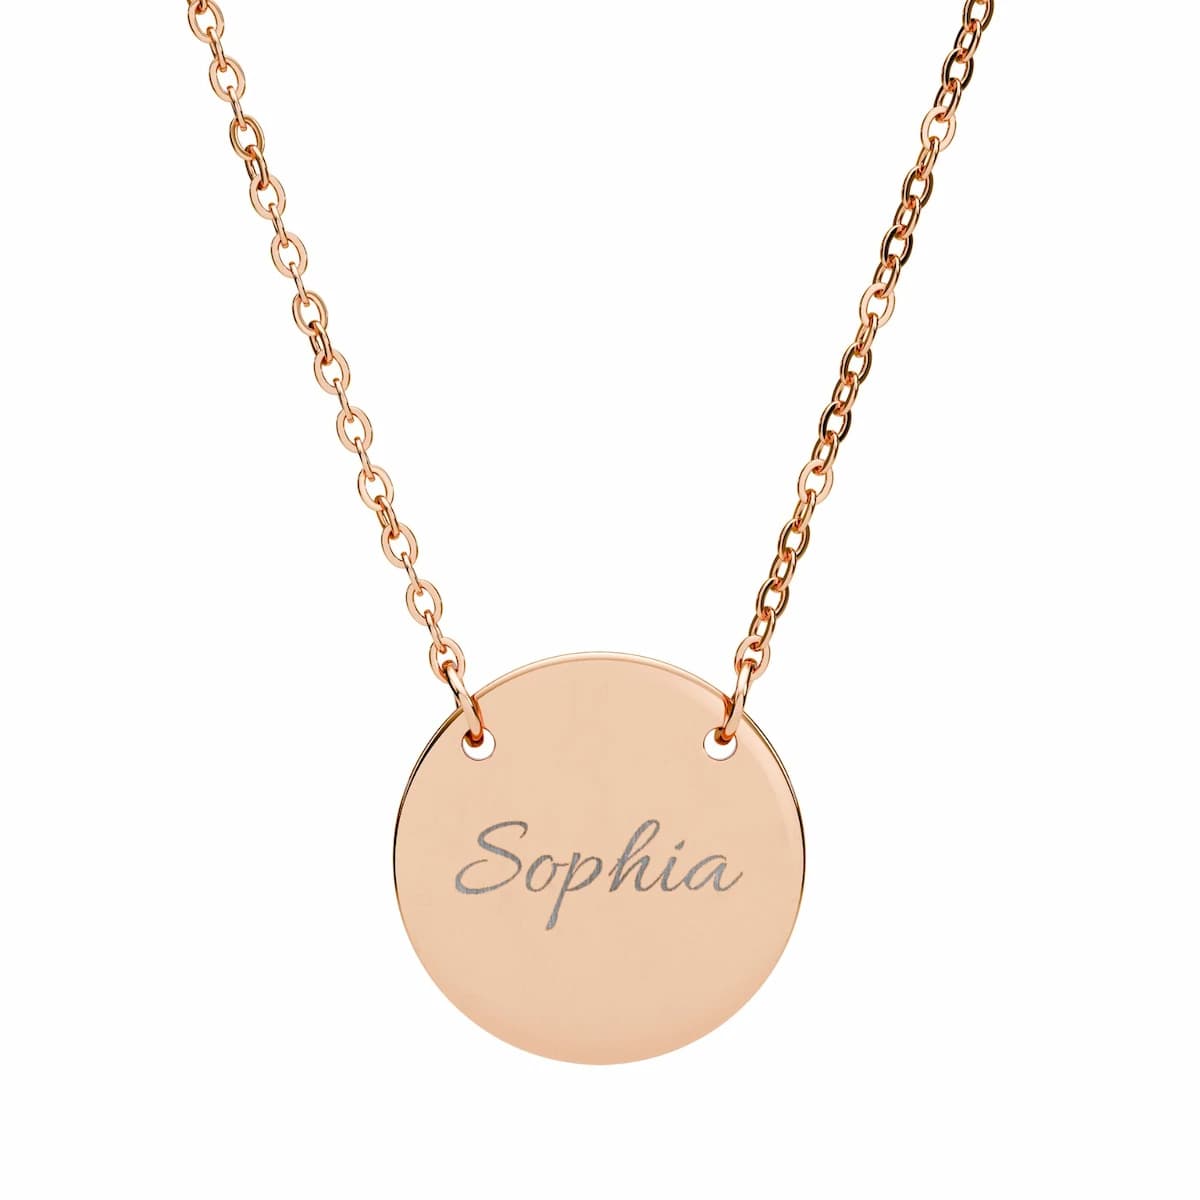
Small pieces, real minimums
A pendant or a charm is a tiny piece of metal, and at that scale the width of the engraved mark stops being a technicality. Lines below 2 px (0.2 mm) do not resolve as lines. Text below 18 px (1.5 mm) loses the enclosed spaces inside its letters and reads as a smudge.
On the smallest items — charms, tags, single-initial pendants — go well past those floors. Simple bold shapes and a small number of heavy letterforms are what look intentional at jewellery scale. A detailed crest that reads perfectly at 50 mm becomes an indistinct grey patch at 12 mm.
A useful test: shrink your artwork on screen to the actual physical size of the piece and look at it from arm’s length. If you cannot read it there, the laser will not rescue it.
Preparing the file
PNG or SVG, solid black, transparent background, no colour and no grayscale. If the design is an SVG containing text, convert the text to outlines before saving — otherwise the font may be substituted with a default face wherever the file is processed.
Leave out anything soft. Shadows, glows, feathered edges and gradients have no engraved equivalent; each resolves to marked or unmarked, and the boundary chosen for you is unlikely to be the one you wanted. Making that decision yourself in the artwork is always the better outcome.
Never include a background rectangle. A white or coloured background engraves as a solid filled block covering the whole piece, which is the single most common way an engraved design goes wrong.
Do this, not that
Do
- Use solid black artwork on a genuinely transparent backgroundEvery non-transparent pixel is engraved regardless of its colour — only transparency is skipped.
- Keep every line at least 2 px (0.2 mm) thickThinner strokes do not resolve as lines at engraving scale.
- Set text at 18 px (1.5 mm) or taller, and larger on small piecesBelow that the enclosed spaces inside letters close and the text becomes a smudge.
- Convert SVG text to outlines before savingAn un-outlined font is silently substituted if it is unavailable downstream.
- Simplify hard for charms, tags and small pendantsA design that reads at 50 mm can be an indistinct patch at 12 mm.
Avoid
- White or coloured backgroundsThey engrave as a solid block across the whole piece — the most common engraving mistake.
- Grayscale, gradients, shadows and glowsThere is no shading; every one of them resolves to fully engraved or not at all.
- Fine detail below the minimum sizesIt merges into a solid mark rather than reproducing.
Common questions
- What is the minimum line thickness for laser engraving?
- 2 px (0.2 mm) for fiber laser engraving on metal. Below that the engraved mark does not resolve as a line. On very small pieces such as charms and pendants, design well above the minimum — the floor is where a line becomes possible, not where it looks good.
- How small can text be on an engraved pendant?
- 18 px (1.5 mm) tall is the floor. At smaller sizes the enclosed spaces inside letters close up and the text reads as a smudge. For a single initial or a short word on a small charm, go considerably larger and use a heavy, simple letterform.
- Does the colour of my artwork affect the engraving?
- No, and this catches people out. Every non-transparent pixel is engraved regardless of its colour — a pale grey, a white highlight and pure black all engrave identically. Only genuine transparency is skipped, so build the design as solid black on a transparent background and make every include-or-exclude decision yourself.
- Why did my engraving come out as a solid block?
- Almost certainly a background in the file. A white or coloured background rectangle is non-transparent, so it engraves as a solid filled area across the whole piece. Export with real transparency — a white background is not the same thing.
- What is the difference between fiber and CO2 laser engraving?
- The material. Fiber laser engraving is used on stainless steel and metal jewellery; CO2 laser engraving is used on wood, bamboo, glass, slate and coated tumblers. They are separate processes on separate equipment, and any given product is made with one of them, never both.
Products made this way
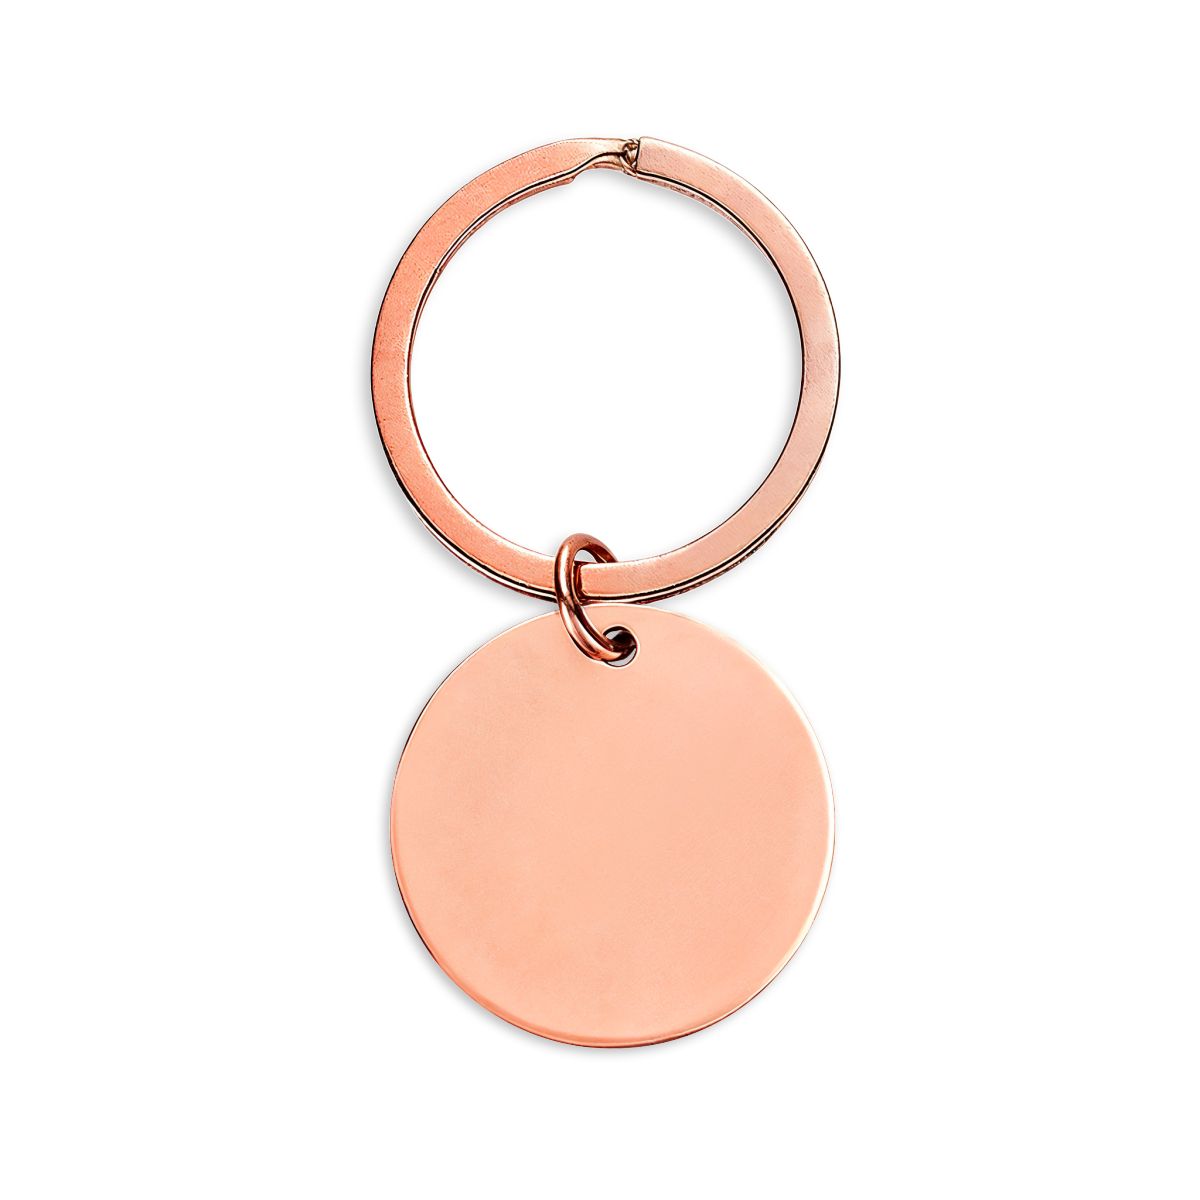
Custom Engraved Keychain with Your Design
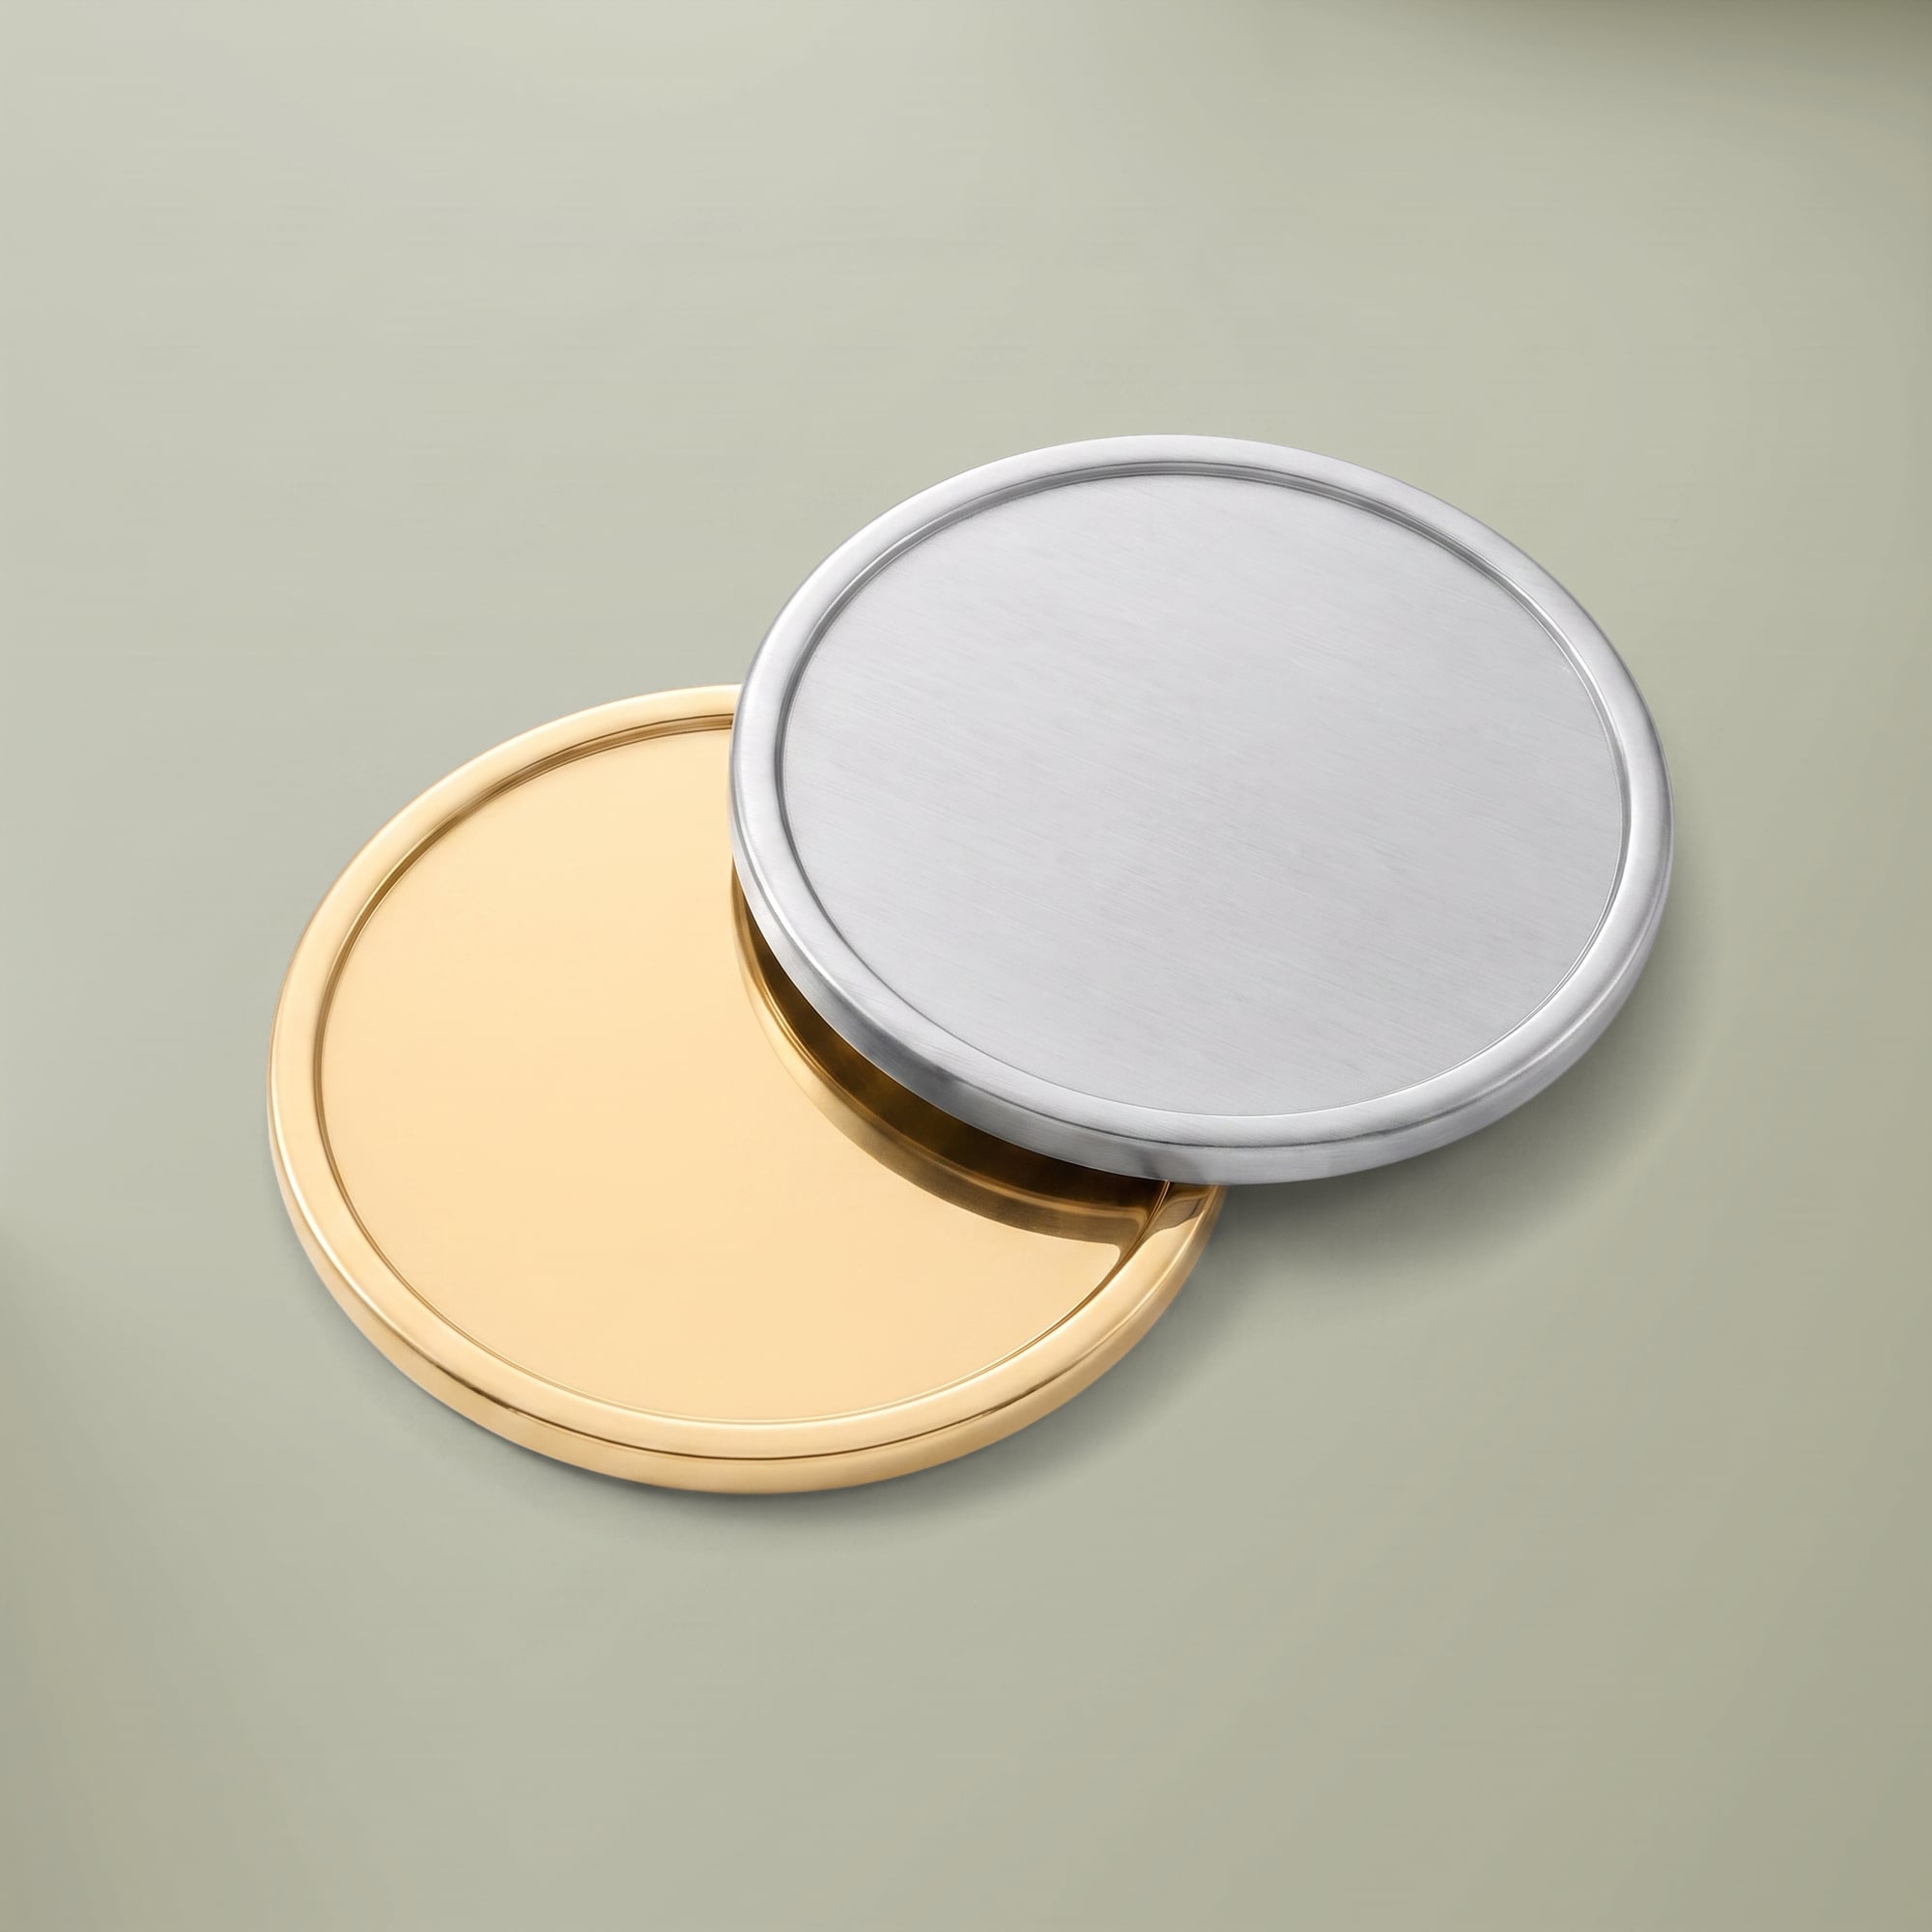
Custom Sports Gear, Golf Ball Marker, with Your Logo
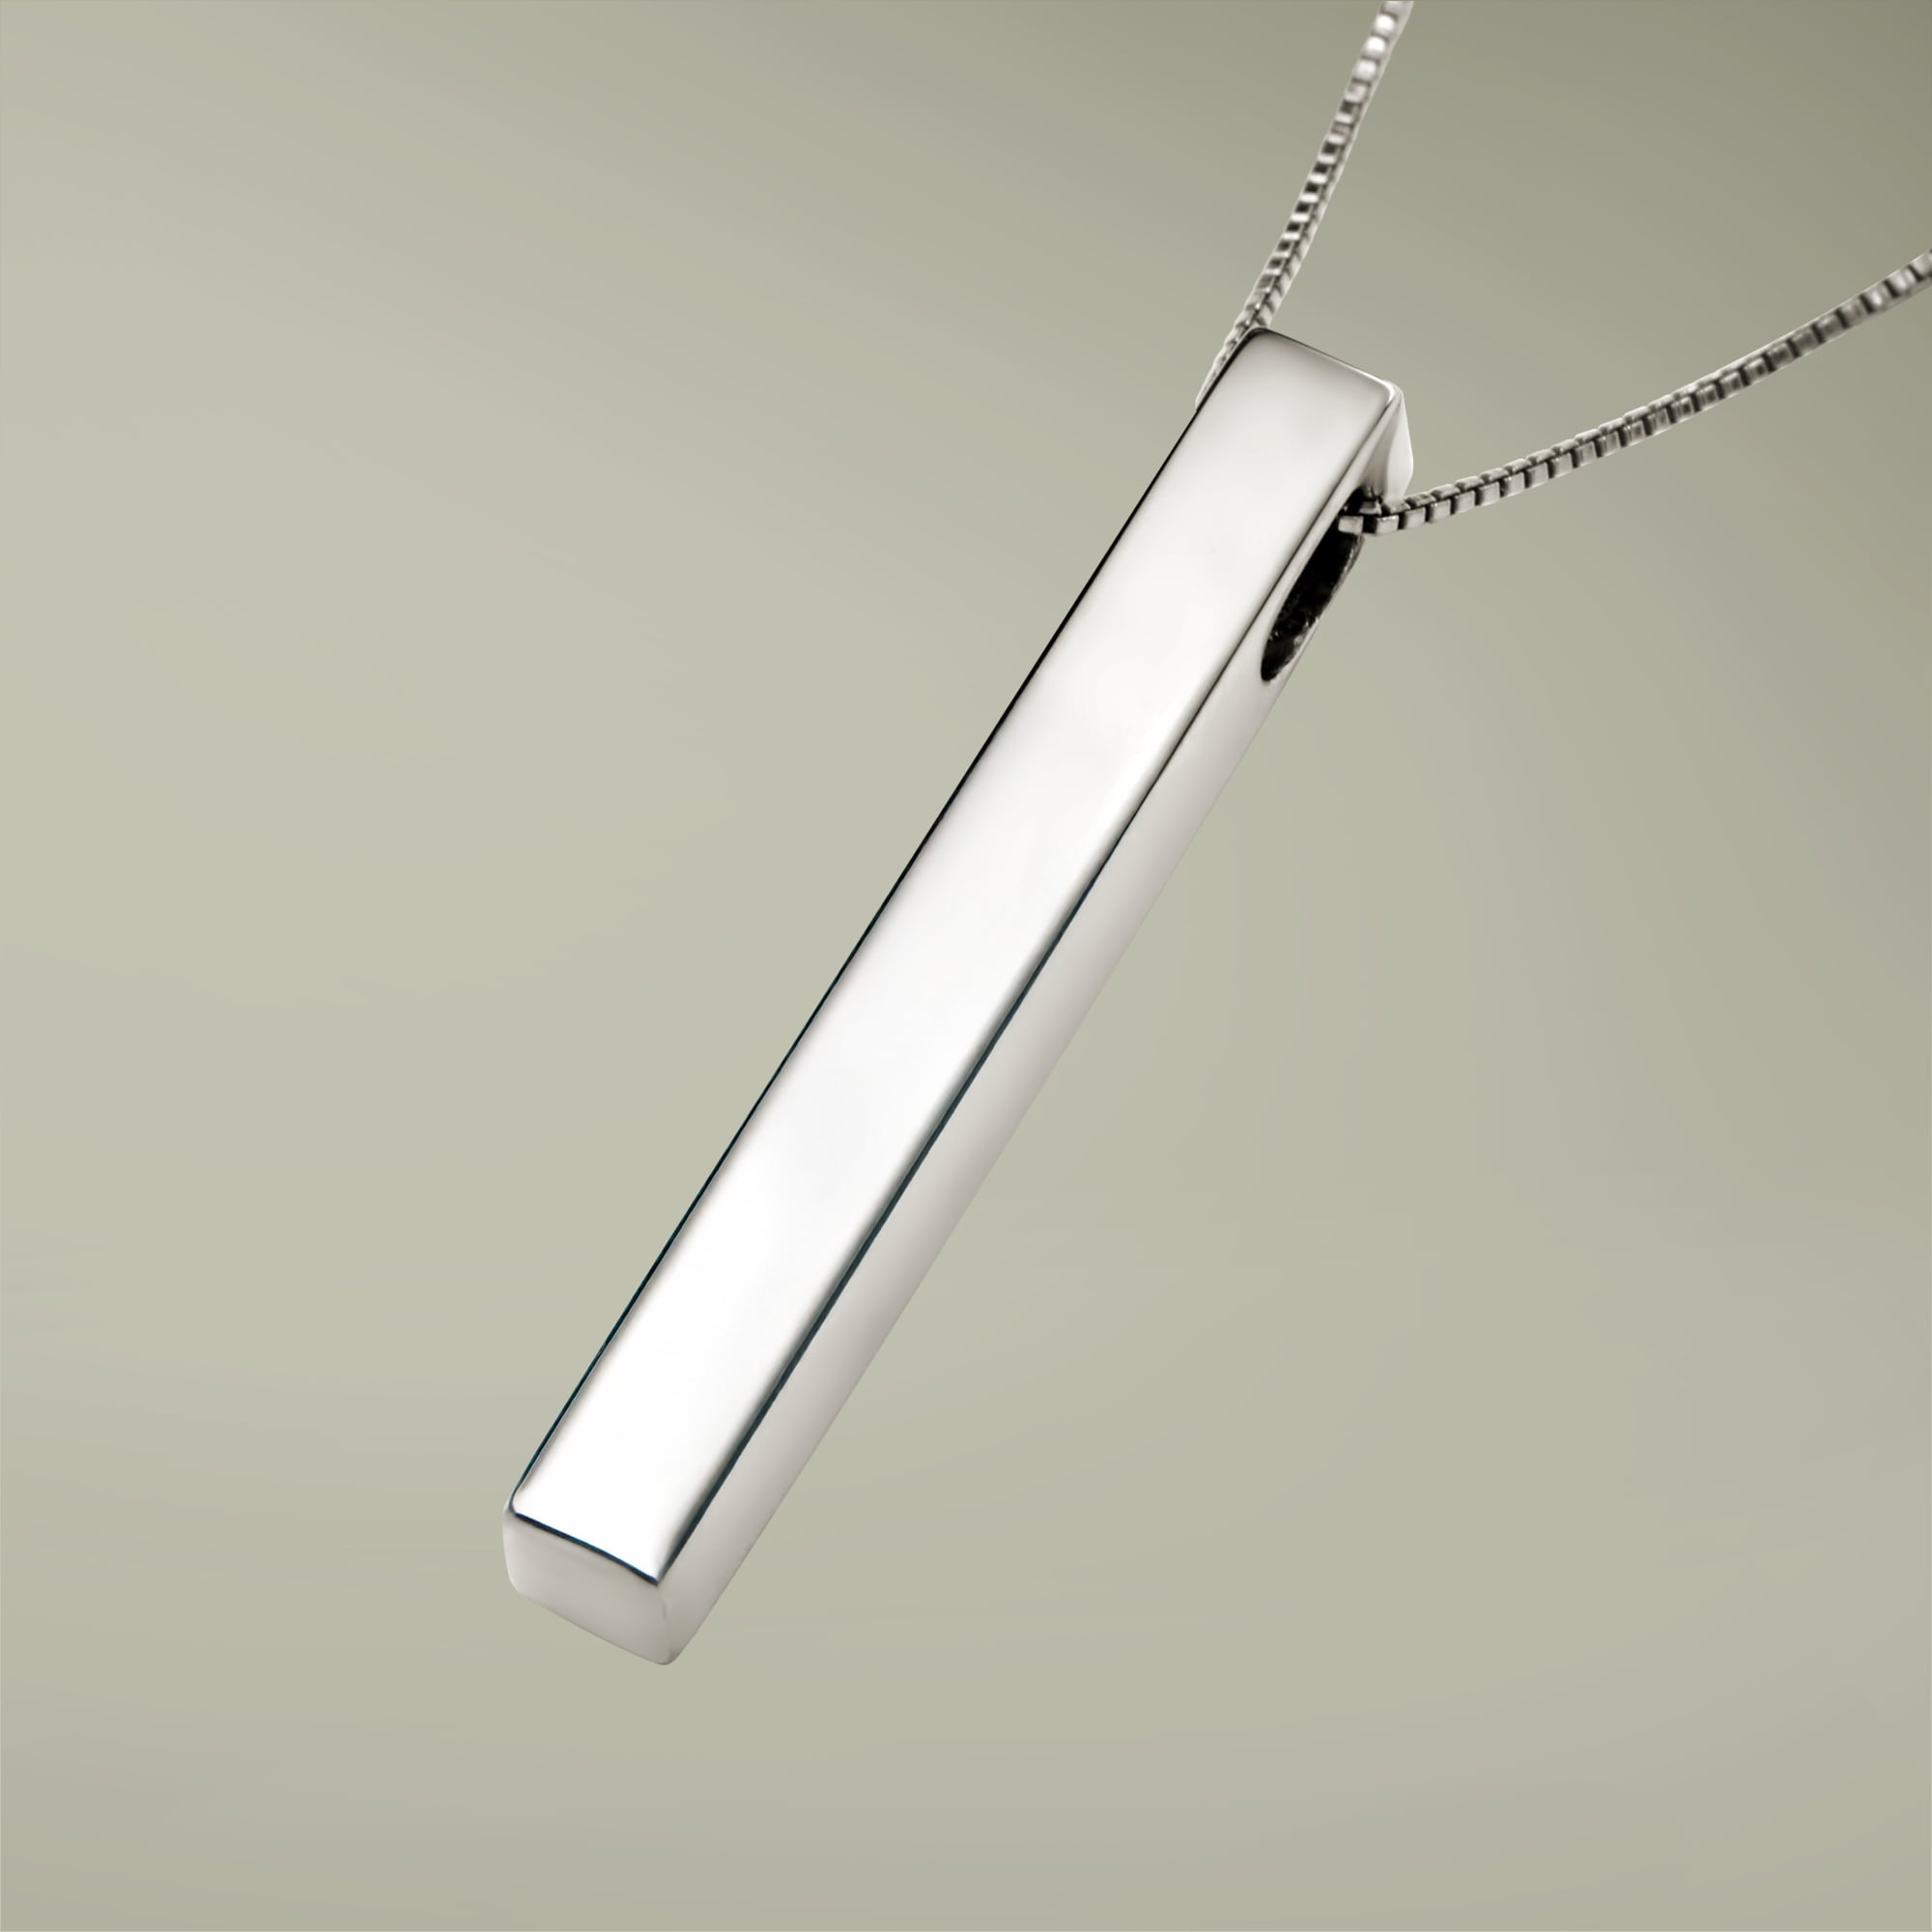
Grandma Necklace with Grandkids Names, Engraved Bar Necklace
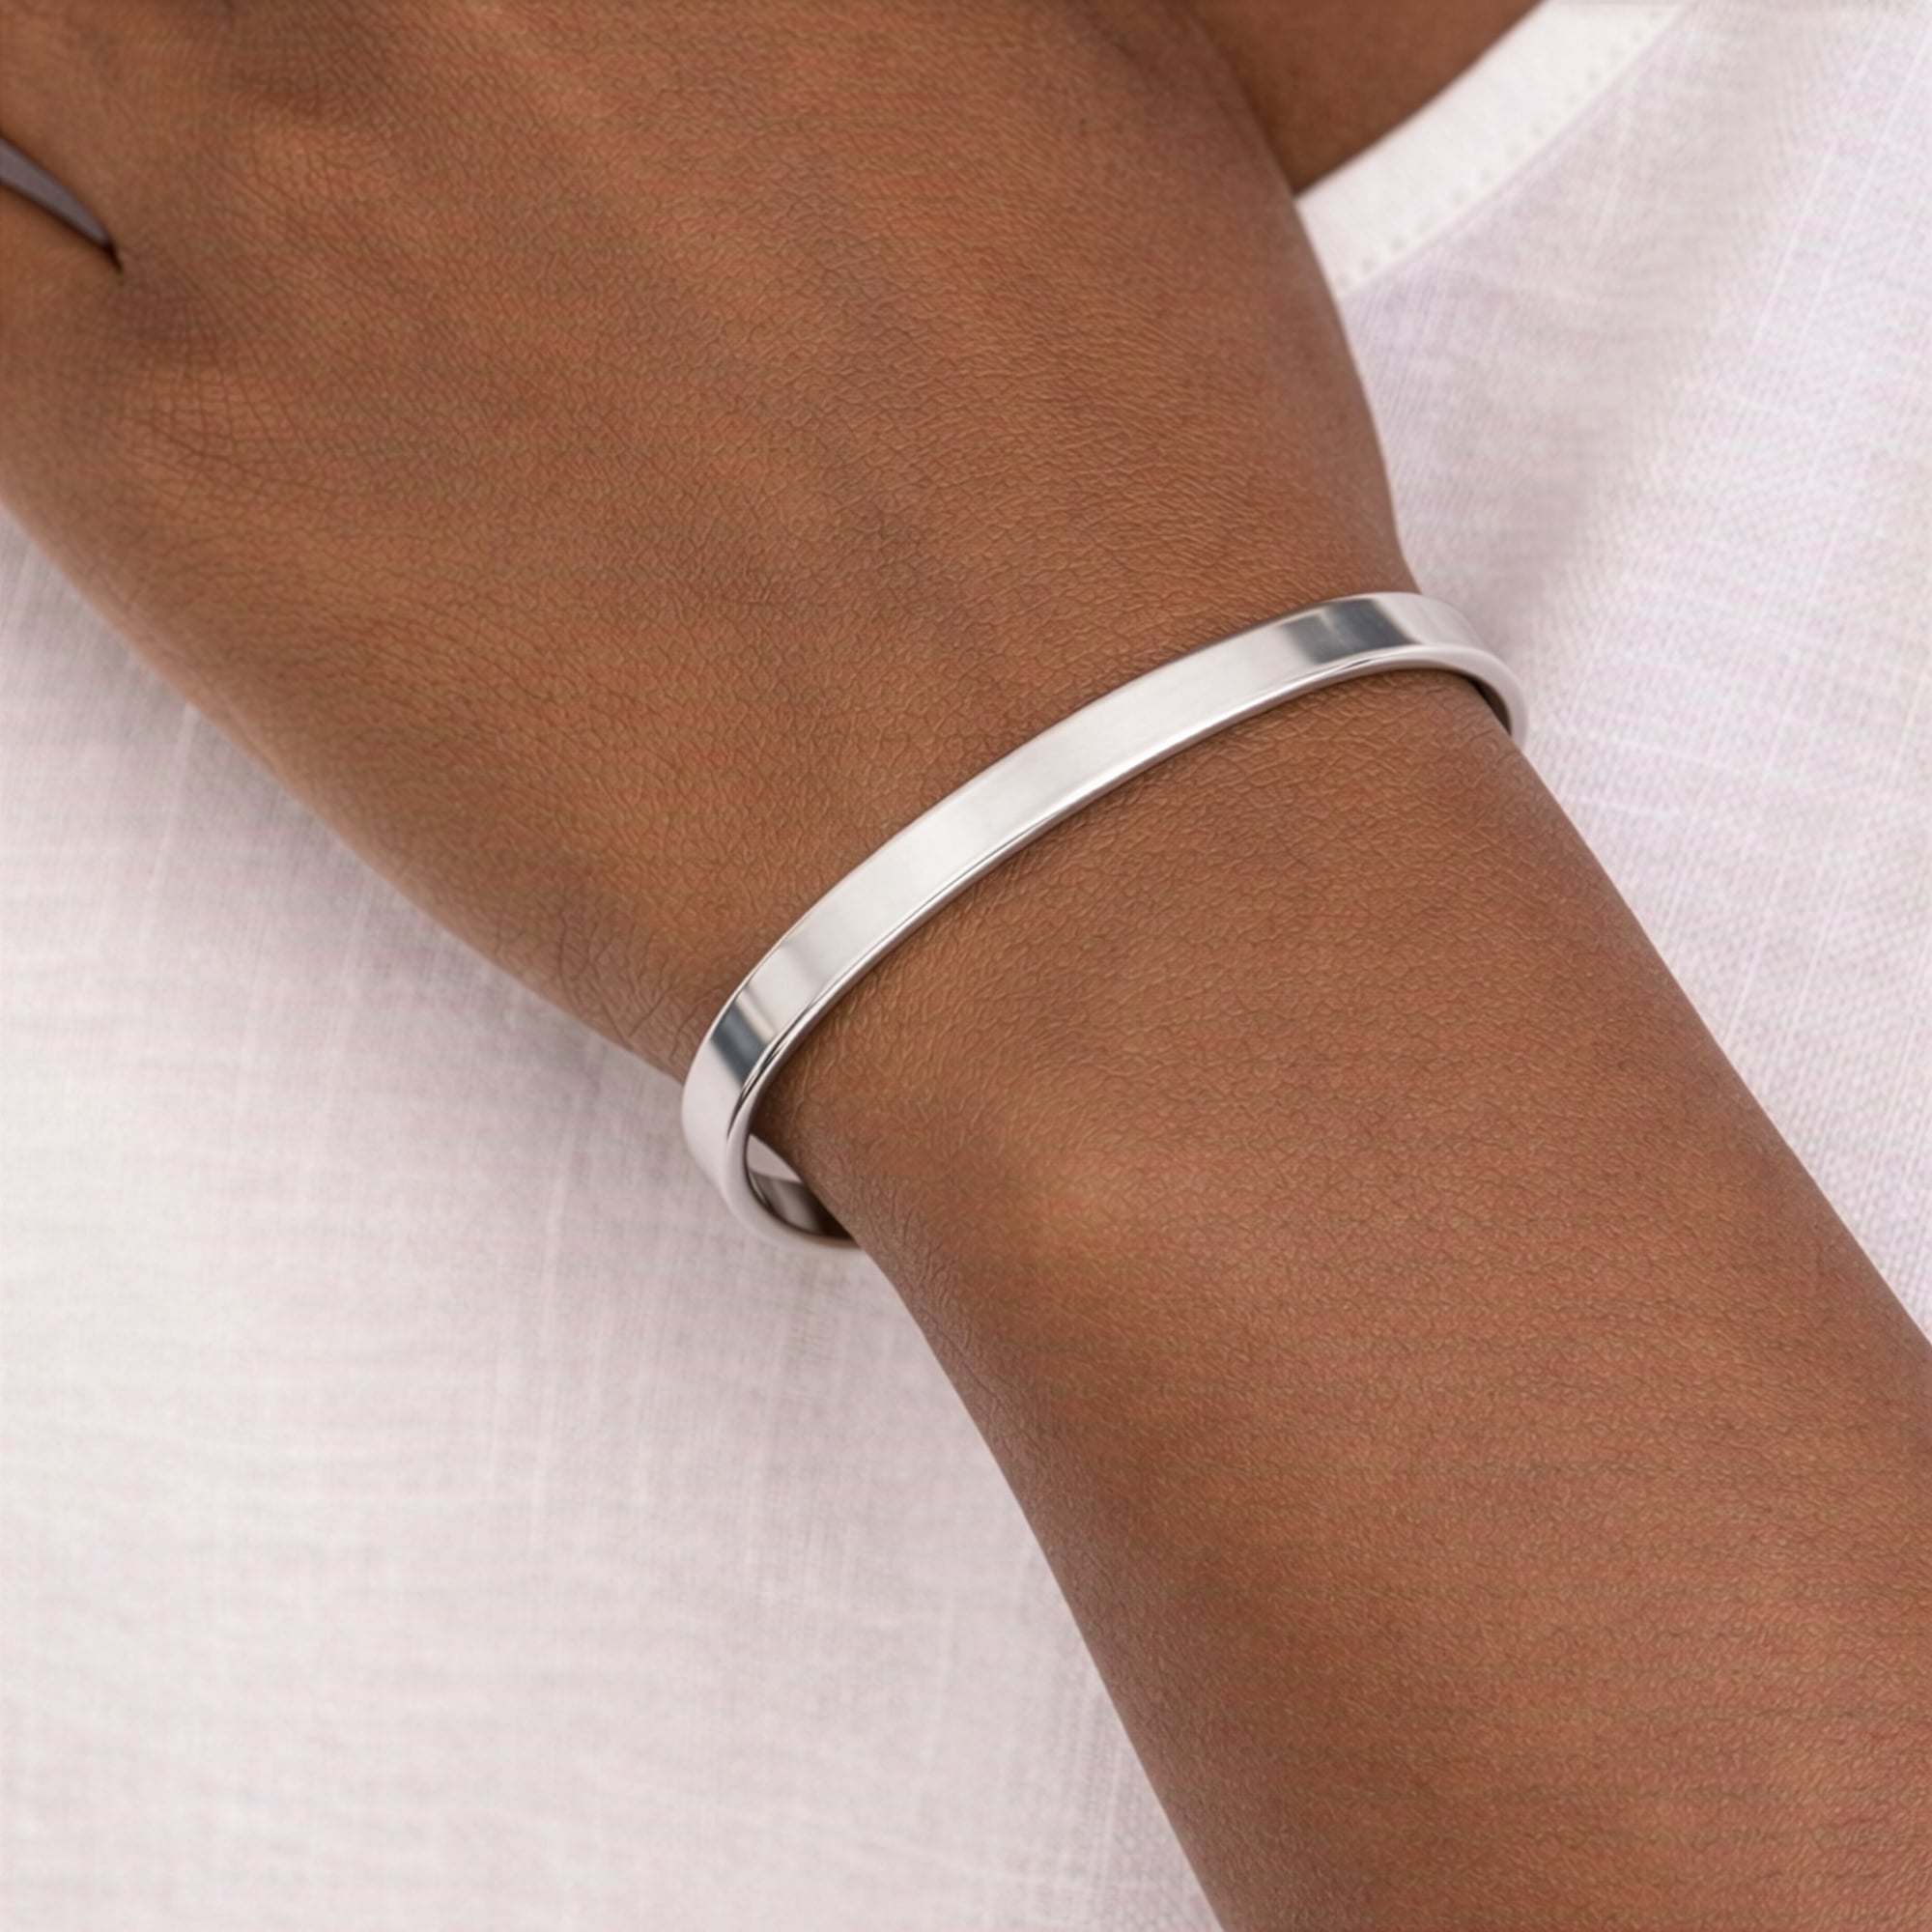
Custom Bangle Bracelet with Your Name
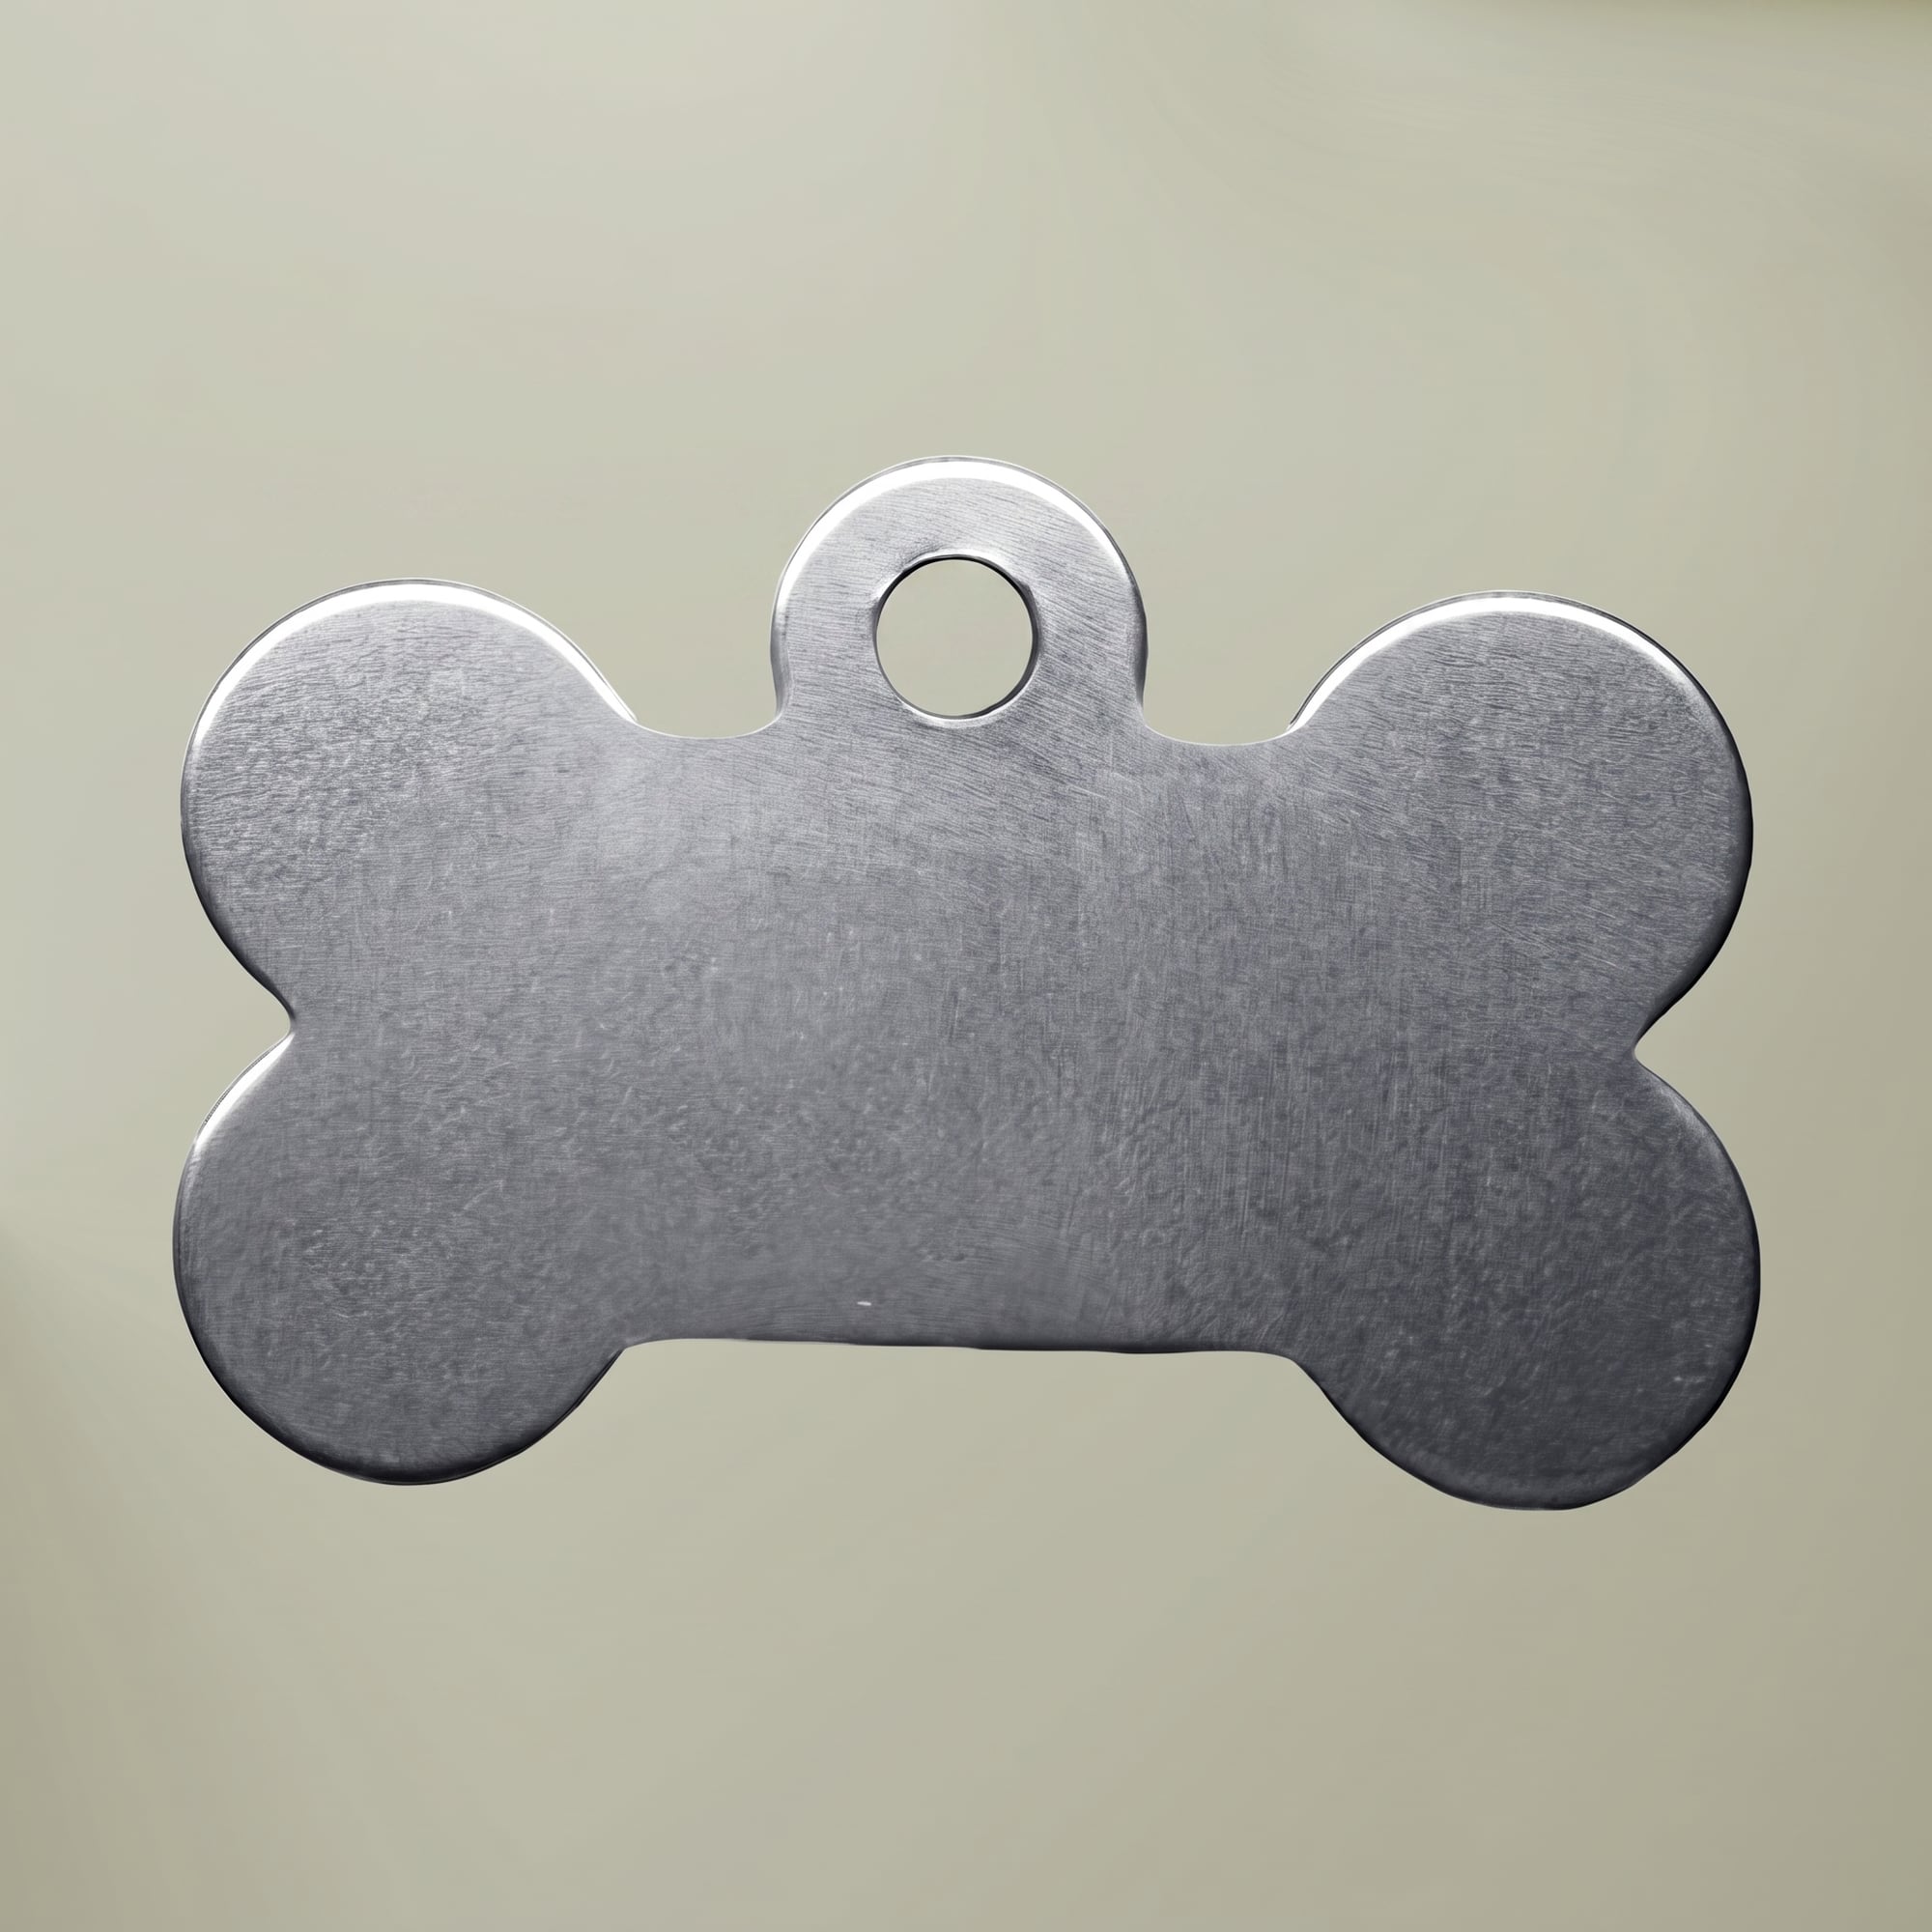
Custom Dog Collar Pet ID Tag, Engraved with Your Name
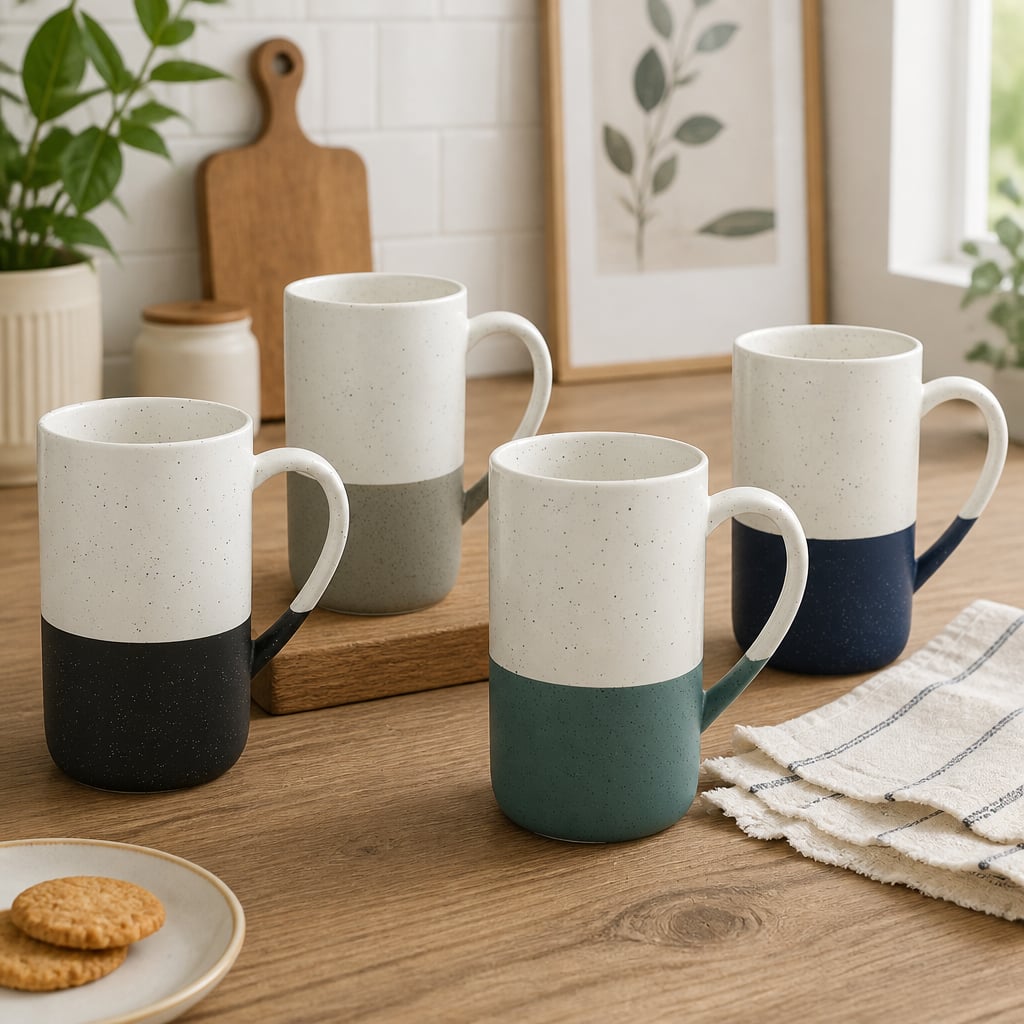
Custom Engraved Ceramic Mug with Your Text
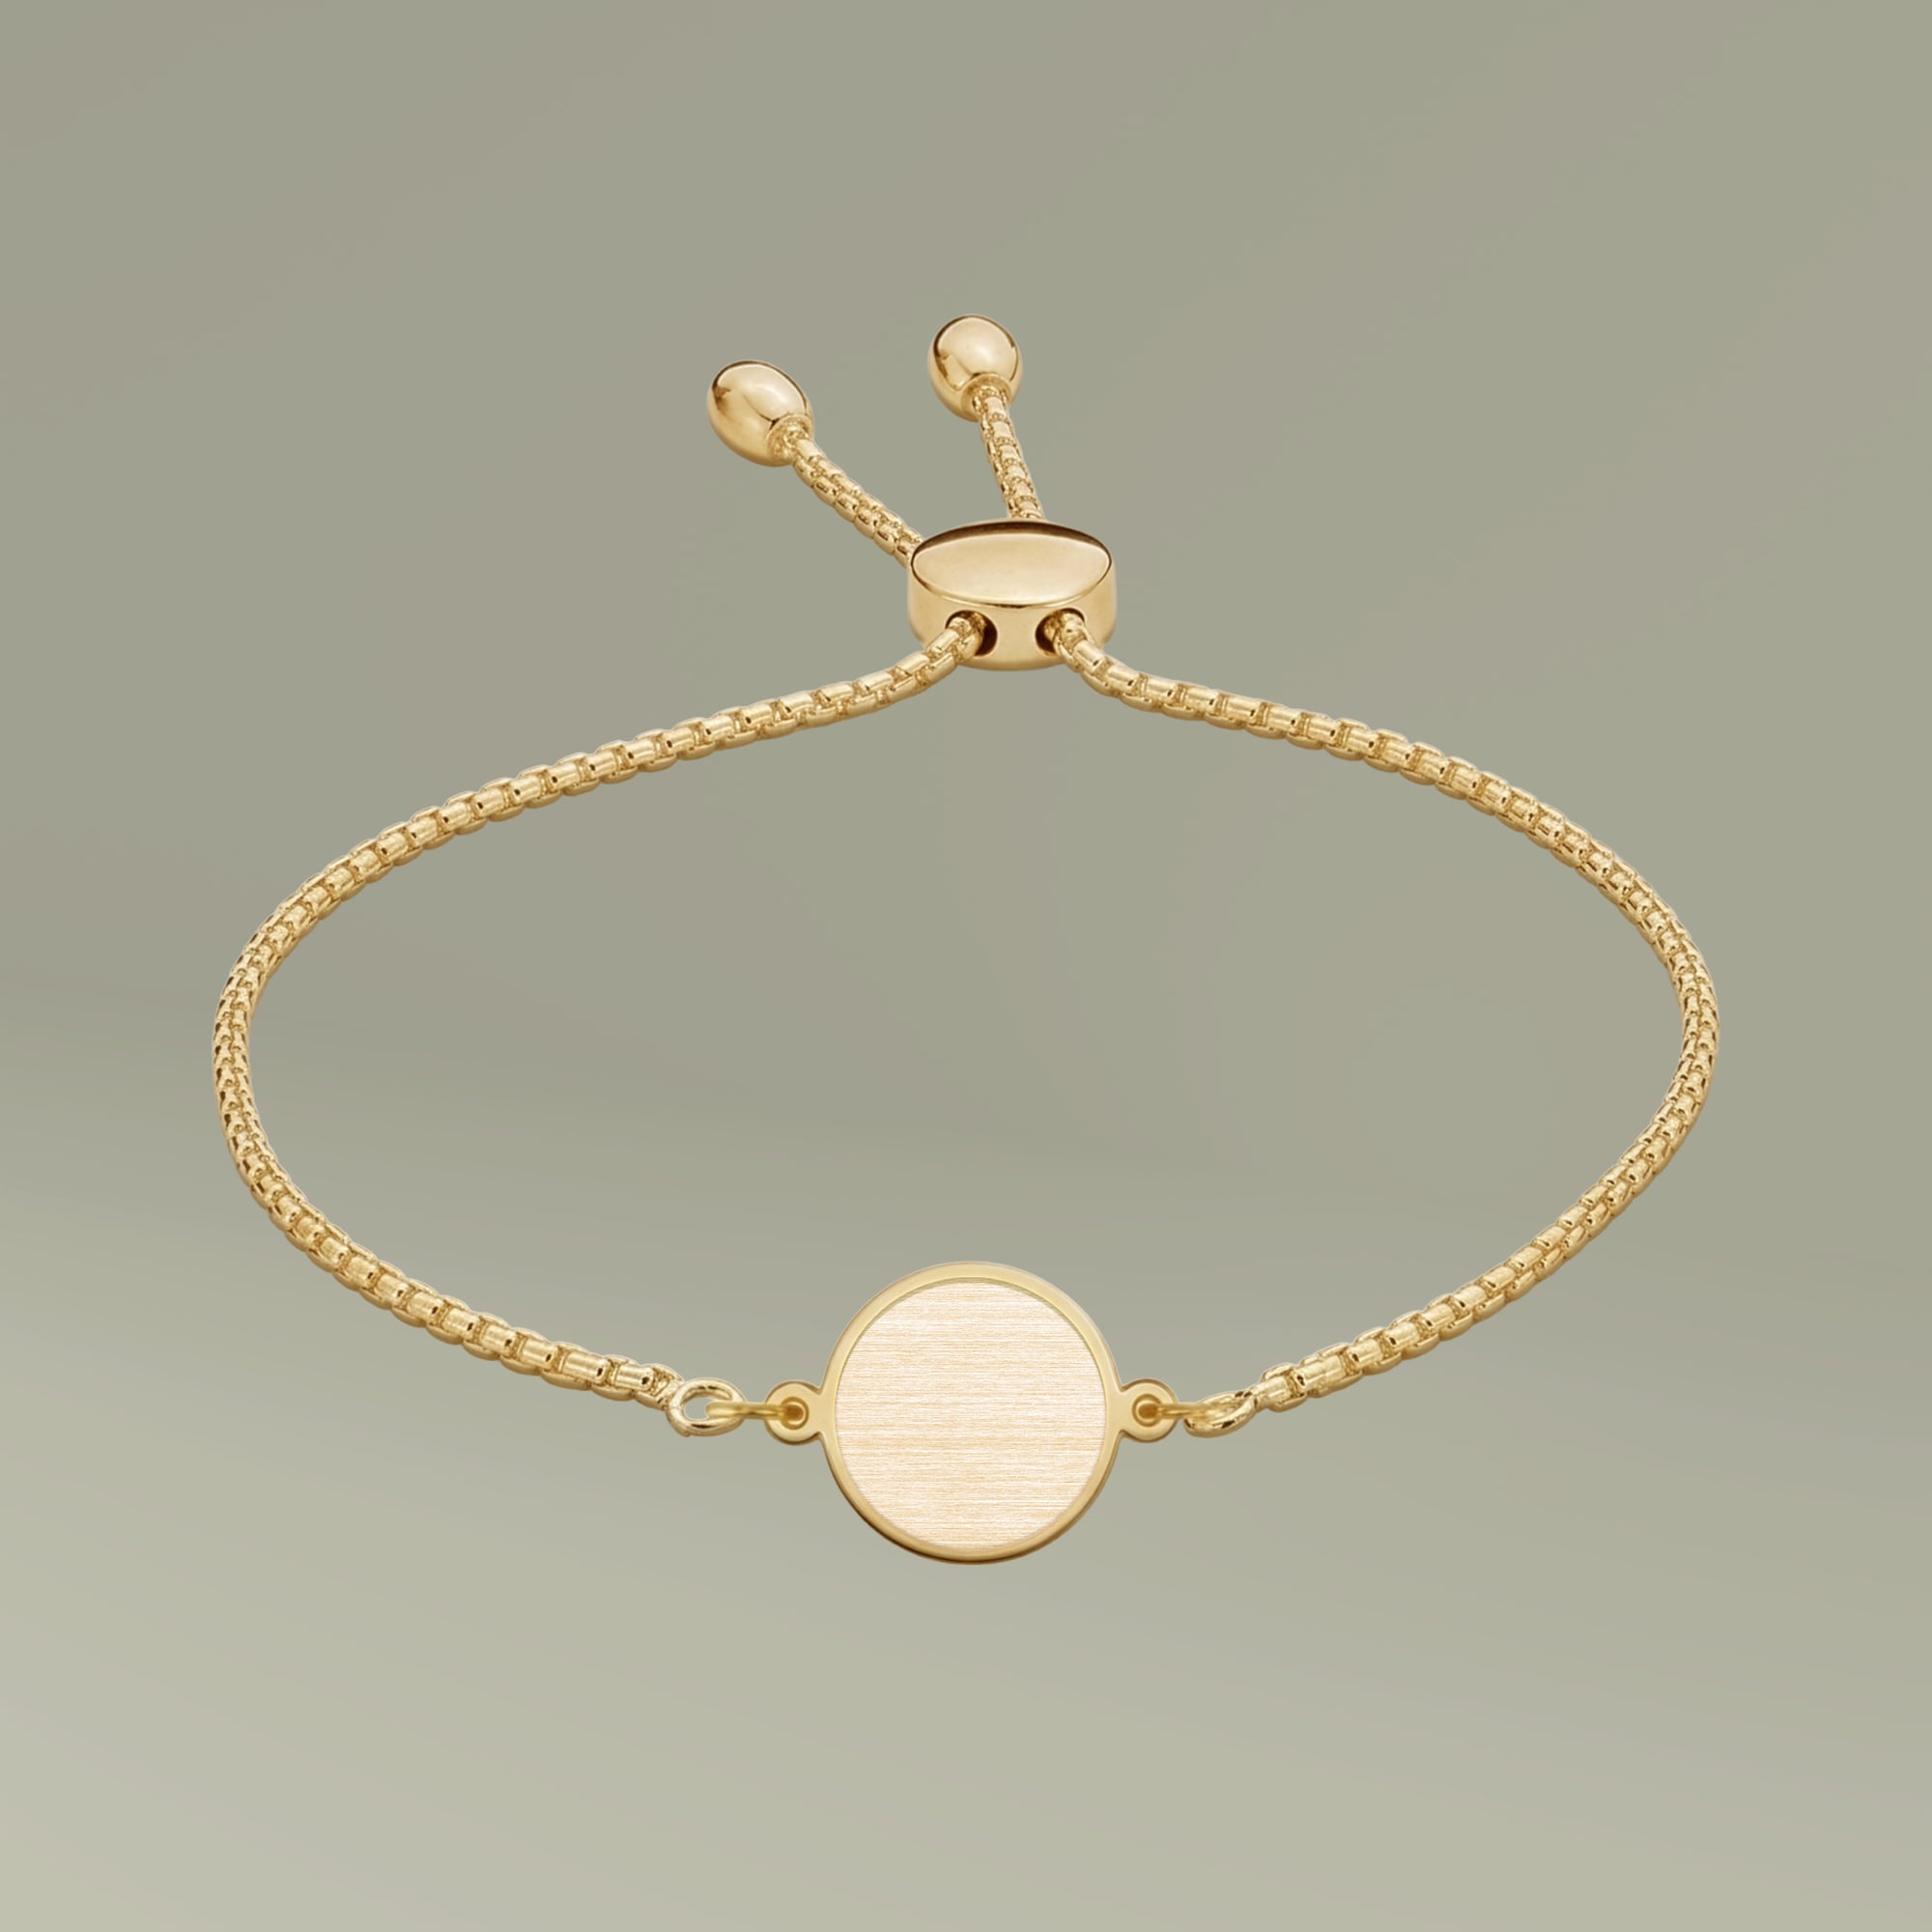
Custom Photo Bracelet with Your Picture, Engraved Edge
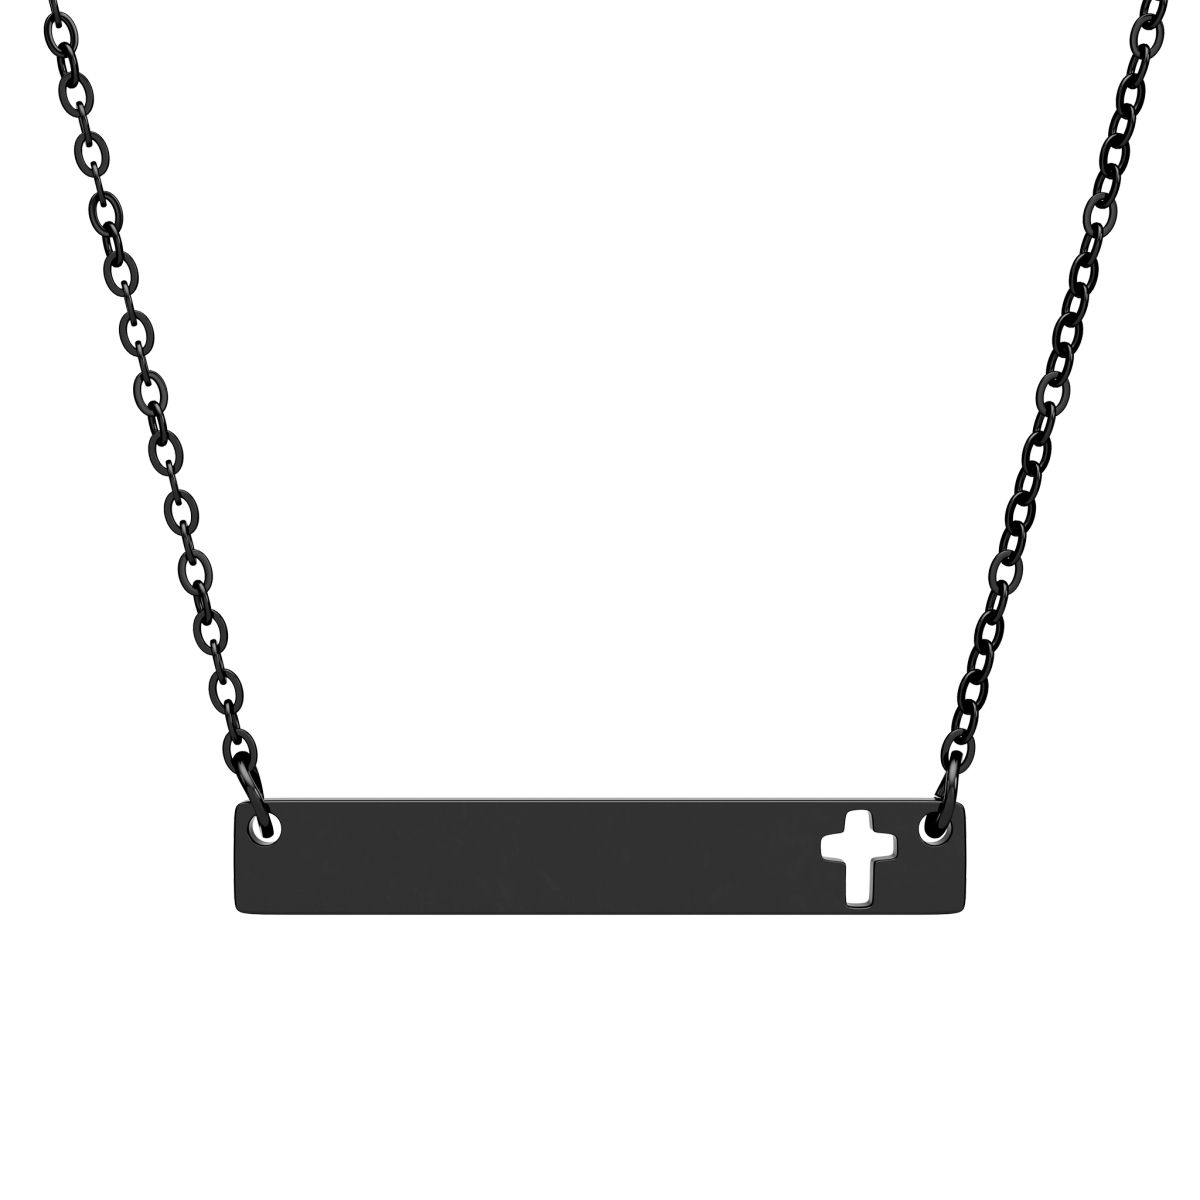
Personalized Cross Necklace, Engraved with Your Name
Related methods
How we know this
- Supplier fiber laser-engraving design guidelines — verified 2026-08-15
- BelDisegno production capability record — verified 2026-08-15